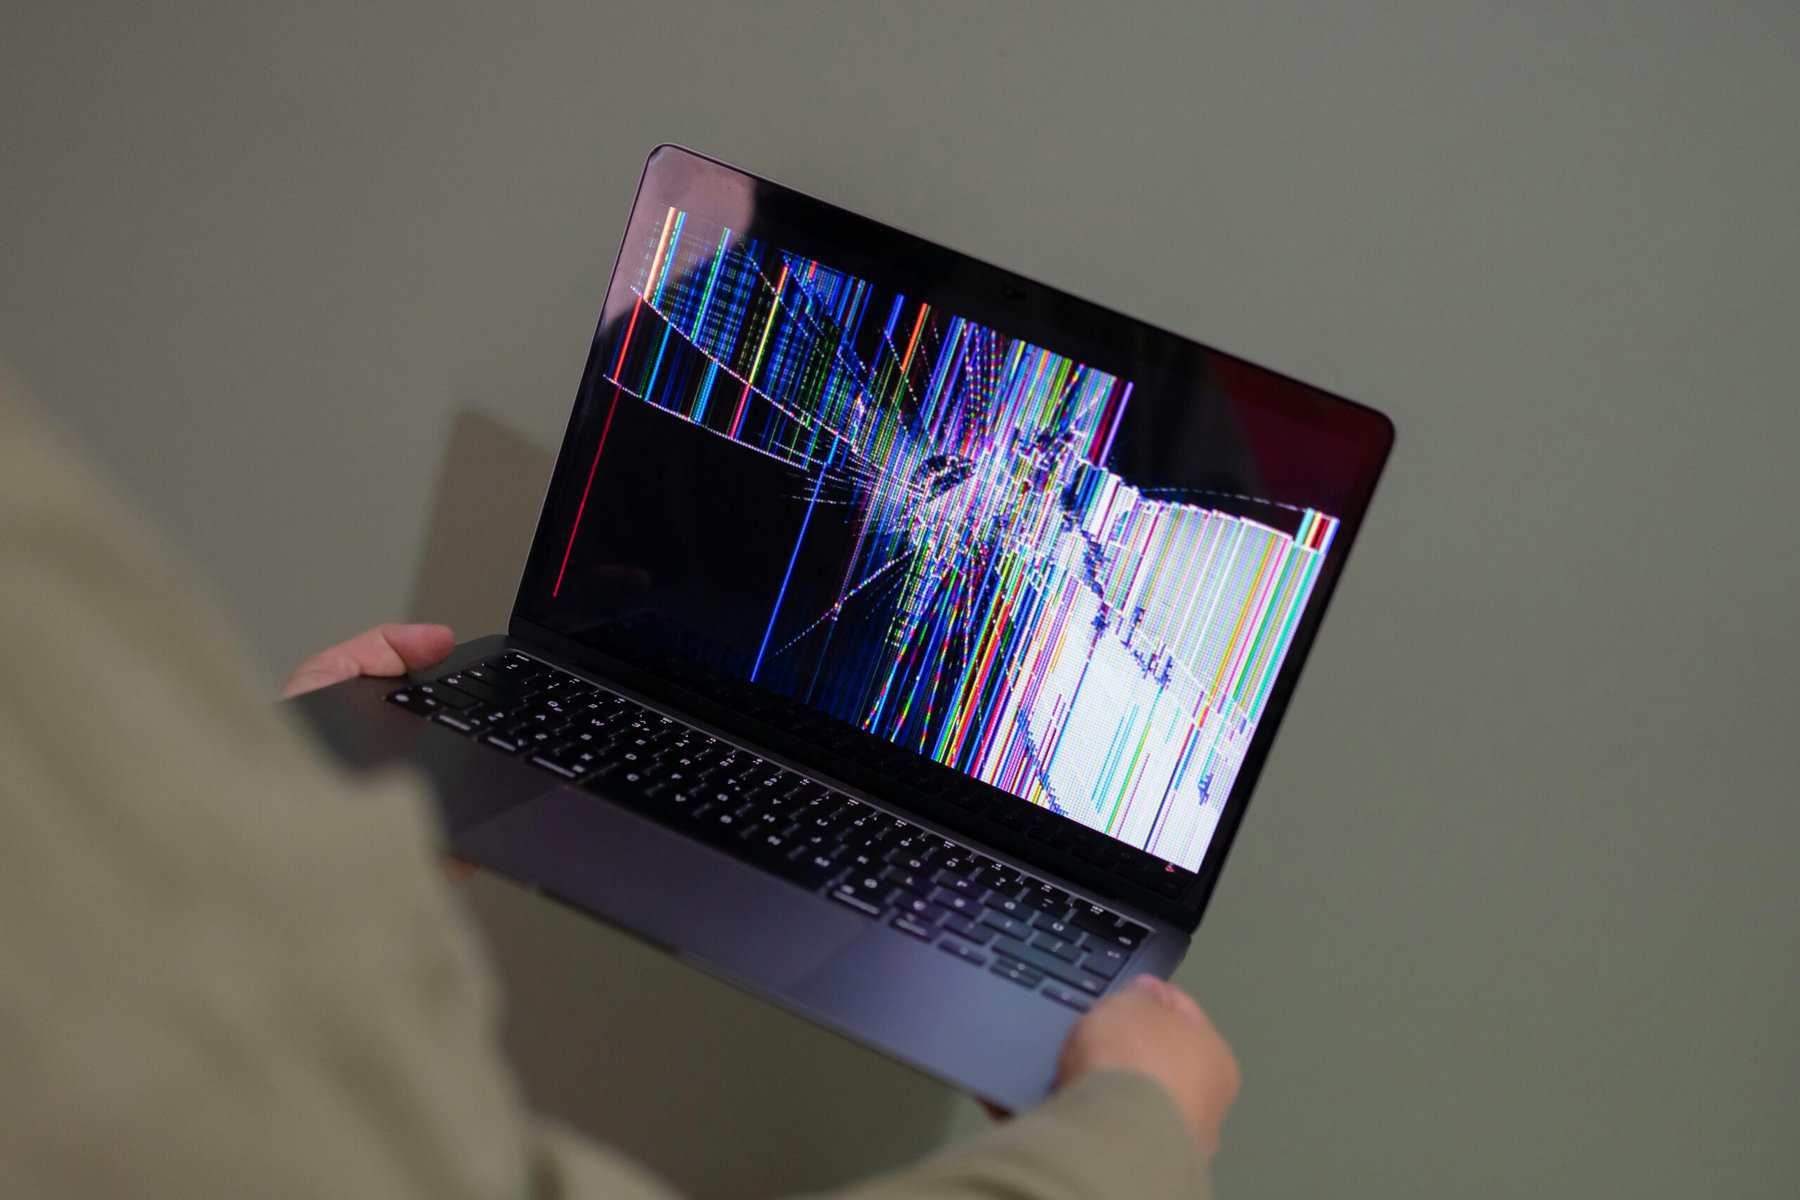
In a previous blog entitled “Do You Need to Wipe a Laptop Before Recycling?,” we highlighted the importance of laptop recycling and the need to securely wipe your data before disposal. While everything—and we do mean everything—containing media or data that comes into our possession is wiped, nevertheless we felt it would be a great idea to expand on that topic, and in today’s blog, we’ll delve into various software-based methods for effectively wiping a hard drive, ensuring the complete erasure of sensitive data.

A Note of Caution
A cautionary note, however: wiping a laptop will delete all data permanently, so it’s essential to back up any important files beforehand. With this in mind, let’s proceed into our step-by-step process of how to wipe a laptop.
Step 1: Backup Your Data

Back Up Data
Before starting the laptop wiping process, it’s critical to back up any files or documents you want to keep. Using an external hard drive, cloud storage, or any preferred backup method to securely store your important data are just some of your options. Take the time to make certain that all necessary files are backed up and easily accessible once the wiping process is complete.
Step 2: Download and Transfer DBAN onto a USB Stick

DBAN Software
DBAN (Darik’s Boot and Nuke) is a widely used software tool for wiping hard drives. To get started, visit https://www.cuit.columbia.edu/content/physical-security/dban and download the DBAN software. Once downloaded, you’ll need to create a bootable USB stick using the downloaded DBAN ISO file. Follow the instructions provided on the website to create a bootable USB stick.
Step 3: Prepare Essential Resources
- The specific laptop you intend to wipe.
- A bootable USB stick containing DBAN.
- A reliable power source to keep your laptop running throughout the process.
- Last but not least, patience. As the duration of the wiping process may vary depending on the size of your hard drive, exercising a little patience will go a long way.

Prepare Essentials

Step 4: Preparing Laptop for DBAN Wipe
Power Source
Before initiating the wiping process, ensure that your laptop is connected to a power source. This step is crucial to prevent any interruptions or sudden shutdown during the wiping process. Additionally, you should disconnect any external devices such as printers, scanners or external hard drives from your laptop.
Step 5: Restart Your Laptop
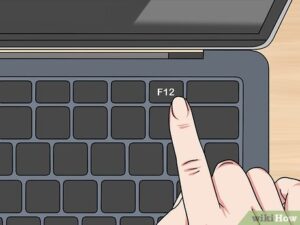
Restart Your Laptop
Insert the bootable USB stick into the USB port of your laptop. Restart your laptop and enter the boot menu by pressing the appropriate key (usually F12, F2 or Esc) during the startup process. Select the USB stick as the boot device and press Enter to continue.
Step 6: Press F3 Once DBAN Has Loaded to Erase All Drives
After loading DBAN from the USB stick, you’ll be presented with a menu. Press F3 to select the Quick Erase method (we recommend using the “DoD Short” method). This method will perform three passes to overwrite the data and erase all the drives on your laptop securely, ensuring that the data cannot be recovered.
Step 7: Confirm Your Selection and Allow DBAN to Load Necessary Files
DBAN will present you with a list of storage devices connected to your laptop. Select the hard drive or SSD you wish to wipe. Be cautious not to select any external drives or storage devices.
Step 8: Wait for Completion

BE PATIENT
Once you’ve selected the erasing method, DBAN will start the wiping process. The duration of the process will depend on the size and speed of your hard drive, and it’s important to note that the wiping process can take several hours, so it’s best to start it when you have enough time to spare. You can leave your laptop unattended during this period.
Step 9: Confirm Your Laptop Has Been Wiped
After the wiping process is complete, restart your laptop without the USB stick. If the wiping process was successful, your computer should not boot into the Windows operating system. Instead, you may see a message indicating that there is no bootable device or operating system found. This confirms that your laptop has been wiped successfully.
Step 10: Enjoy a Wiped Laptop

SUCCESS!
Bingo, and we’re done! You’ve successfully wiped your laptop and ensured the complete sanitization of sensitive data. Now, you can proceed with laptop recycling or any other appropriate method of disposal.
Conclusion
Regardless of your intentions to sell, donate, recycle, or dispose of your old laptop, it is essential to wipe it clean in order to protect your personal information. We strongly recommend prioritizing laptop recycling as the safest and most convenient method of disposal, as it not only benefits the environment but also supports the concept of a circular economy. By following these steps, you can prevent identity theft or data breaches and contribute to the reduction of e-waste. Rest assured that eAsset Solutions is committed to upholding security policies and safety measures, and once in our possession, we will perform another thorough wipe of your laptop or computer to ensure no data breaches or compromises to your private information occur.
While DBAN offers a free and convenient method to erase your laptop, eAsset Solutions abides by the NIST 800-88 guideline for device erasure. This standard specifies detailed procedures for wiping various media types (HDD, SSD, NVMe, Flash, etc.). Going above and beyond, eAsset Solutions utilizes specialized third-party software that strictly adheres to the NIST 800-88 guideline for thorough device erasure.
MORE INSIGHTS